Route planning
In this section, you'll learn how to start route planning with an Excel file.
Creating an account
To access planning, you must be logged in to your account. Your username must be in the list of your company's managers.
If you registered a company using this account, the username was automatically added to the list of managers with the Administrator role.
If you are a new user, contact your company's administrator so that they register you as a manager in Calendar Planning.
Step 1. Log in to your account
Step 2. Download a template
Download a sample populated Excel file:
- Using the link.
- In the Planning section in the interface.
Note
For the first planning, take the simple example with a small number of parameters.
Step 3. Fill out the file
For the first planning, it's enough to fill in the following fields on the sheets:
- Location ID
- Location type
- Time window
- Latitude
- Longitude
- Handling time at location visits, sec
- Visits to the location
- Location ID
- Handling time at location visits, sec
- Employee ID
- Working days
- Employee ID
- Working days
- Possible window for the shift start time
- Planning date
- Planning period, days
- Time zone
All other fields can be left empty.
For a description of all possible parameters, see Parameter list.
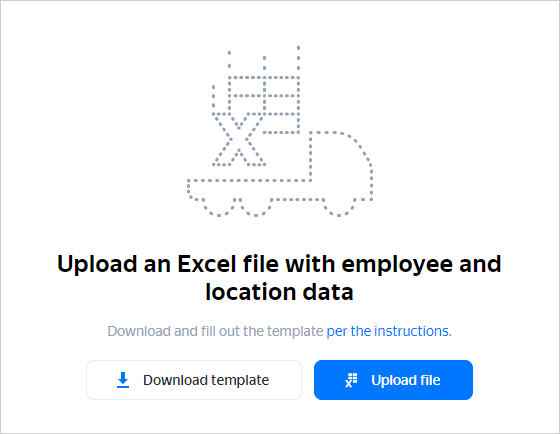
Step 4. Upload the file to the interface
In the Planning section, click Upload file, or drag and drop a file from a folder on your computer.
For more information, see Uploading data.
Step 5. Run the planning
In the upper-right corner, click Plan.
For more information about working with the planning result, see Working with the resulting solution.
If planning takes more than 15 minutes, you can stop it. To do this, click Stop and confirm the action. To build a solution, run the planning again.
You can also stop planning via the API.
Step 6. Exporting a solution (optional)
To export a solution, click Export.
For more information, see Exporting a solution.