Create a queue and workflow
Tracker already has your first queue ready: you can create issues for your team in it. Create your first issue
If one queue is not enough and you want to separate workflows, follow the instructions in this article.
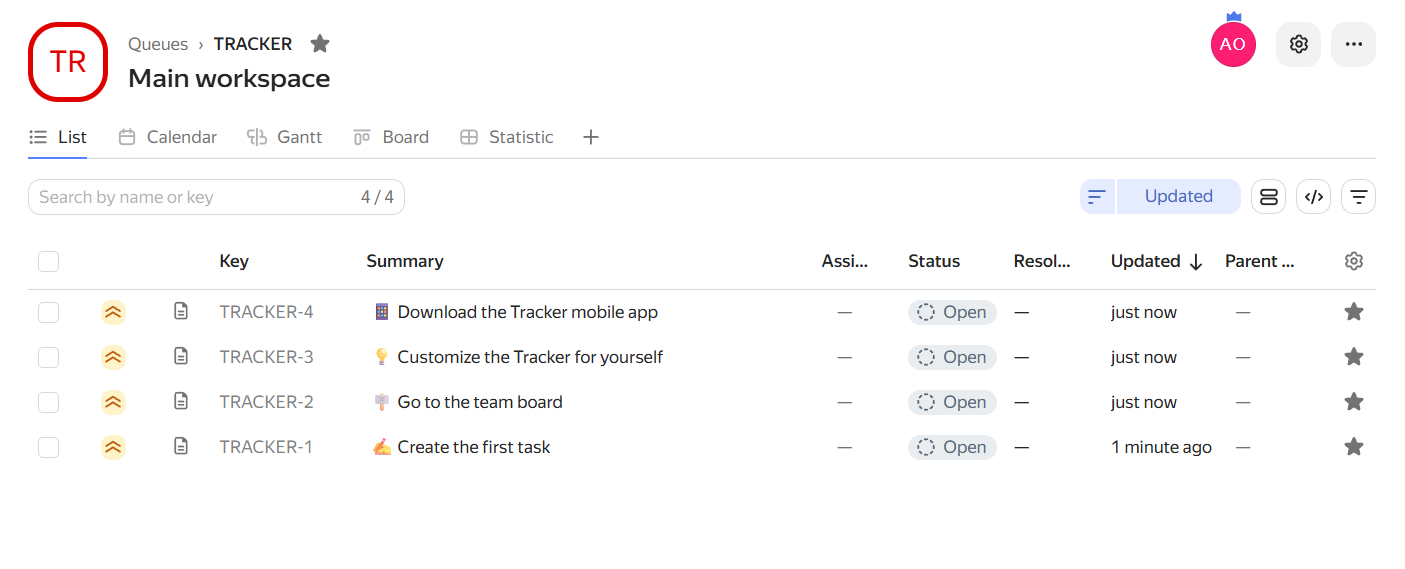
Your first queue
What is a queue
A queue is a space where issues are stored. For example, you can use a queue for a project, product, or line of work.
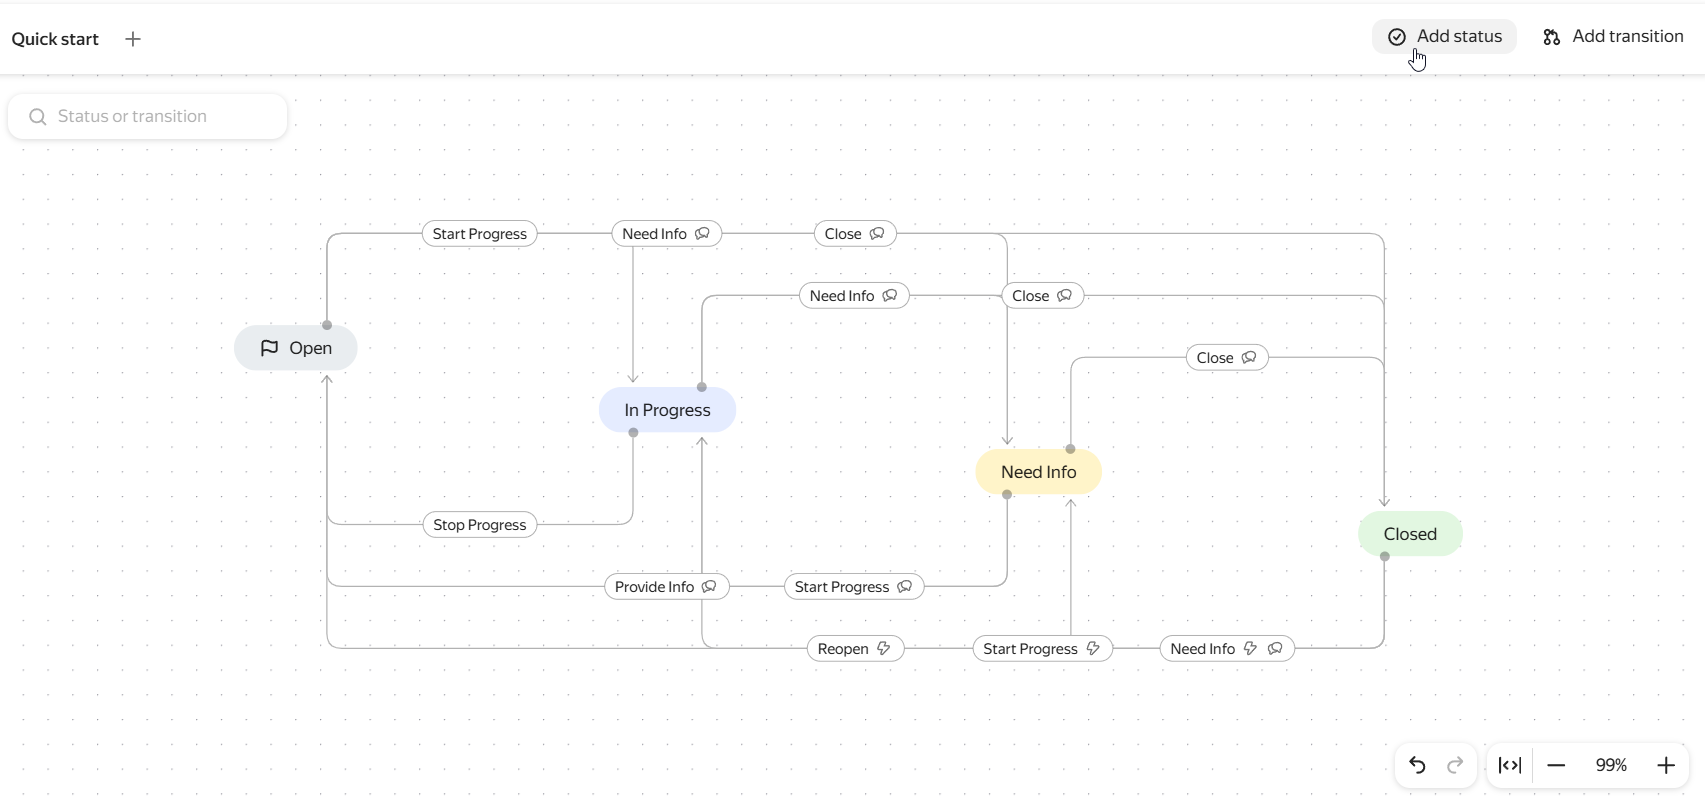
A workflow in a queue consists of the stages of working on an issue from creation to completion. The process is sometimes also called the issue lifecycle.
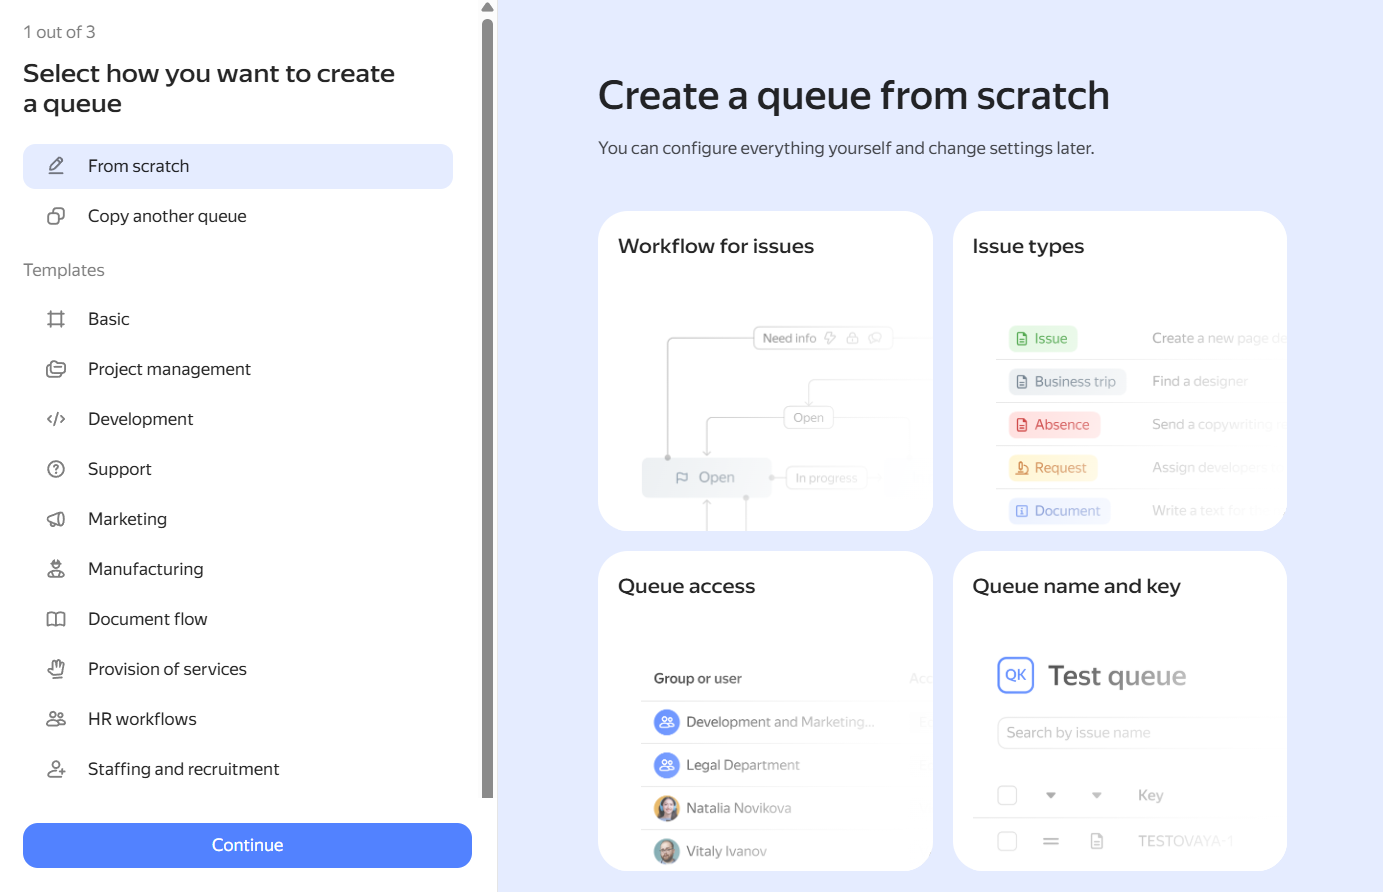
Step 1. Select a queue template
In the left panel, click Queues → Create queue. Tracker will prompt you to select a queue template—this is a preset with all the basic settings. When choosing, base your decision on what your team does.
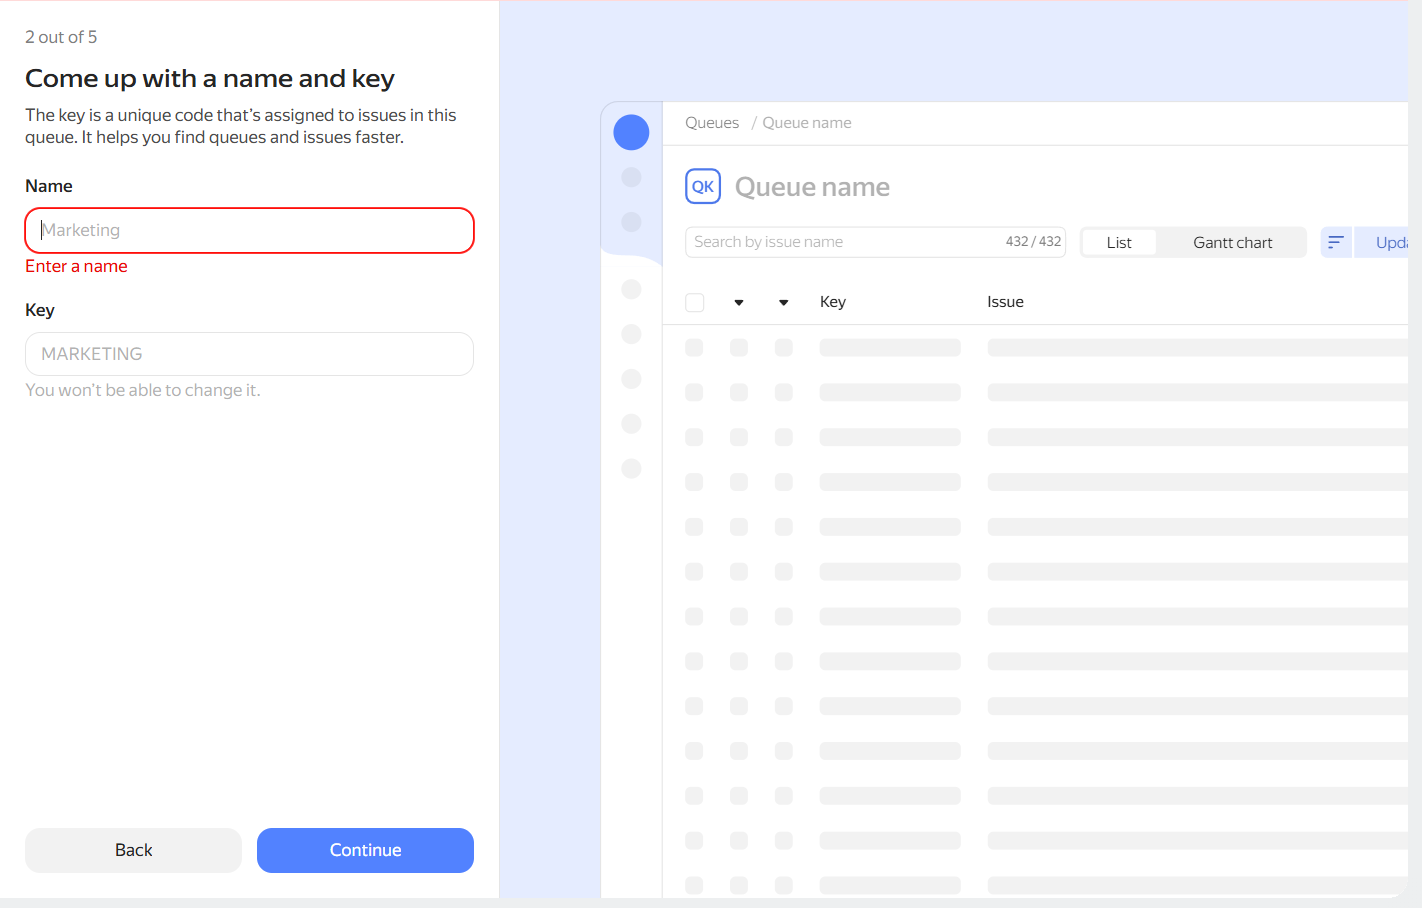
Step 2. Name the queue
Give the queue a clear name—for example, "Website Development" or "Customer Support". This will make it easier for you and your colleagues to find it, especially when you have many queues.
Besides a name, each queue has a key—a unique code consisting of Latin letters. The key is part of the link to the queue and its issues; you need to specify it in API requests and in auto action settings.
You cannot change the key after creating the queue.
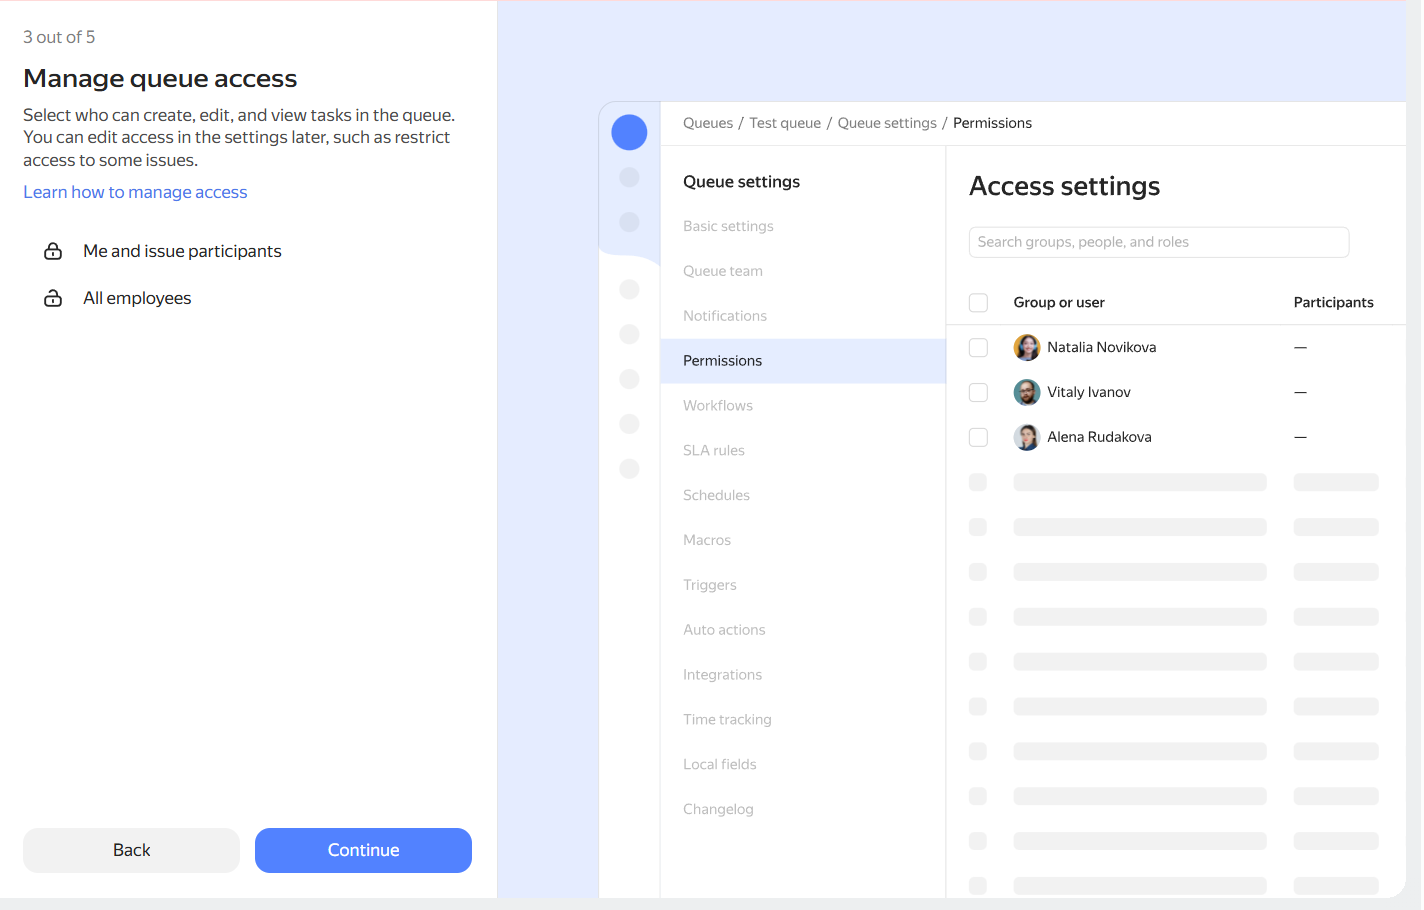
Step 3. Configure queue access
Define who can view the issues. If the issues will contain sensitive data that only one team should see, select the option Me and issue participants.
You can change or refine the access settings later: open the queue and at the top click Queue settings → Permissions. For more information, see the article How to configure access rights in a queue.
Add your own settings to the template
Over time, you might notice that your work includes stages not provided for in the template, for example, "Testing" or "Awaiting response from legal".
You can always add new stages or simply adjust the names and transitions between existing stages. To do this, go to Queue settings → Workflows. For detailed instructions on how to configure everything, see the article Issue statuses.